Building an infrared illuminator
By Patrick Wigmore, , published:
Unsuitable off-the-shelf options
Infrared illuminators are widely available. But most run on CCTV voltages and give out more light than I needed to record hedgehogs. So I decided to make my own 5V illuminator that could be powered by a USB port.
Infrared LEDs
The wavelength of visible light ranges from 380 to 800 nanometres, where 380nm would be a deep violet blue and 800nm a warm red.

Infrared LEDs are usually either 850nm or 940nm. 850nm “near” IR appears to be more common in CCTV applications, apparently because it can be used to illuminate over a greater distance. However, I didn’t need that capability.
A faint red glow from 850nm LEDs is sometimes visible to the naked eye, if they’re very bright. All else being equal, I chose 940nm to avoid this.
20 LEDs seemed like about the right number for a small illuminator, so I ordered some from eBay and soldered them onto a prototyping board.
Circuit and calculations
I kept things simple for the circuitry.

Having a long wavelength, these LEDs only drop 1.4V each, so you can put up to 3 in series on a 5V supply. 20 LEDs isn’t a multiple of 3, so I ended up with six strings of three and one string of two.
I decided to run the LEDs close to their maximum rated current of 60mA. Something like 30mA would be better for longevity, but brightness seemed more important for this project. Choosing from standard values, the strings-of-three each got a 15Ω resistor and the string-of-two got a 38Ω, for a current of 53mA and 58mA respectively.
Power consumption
In total, the illuminator draws 378mA (1.9 watts). Assuming the actual LEDs are 100% efficient, the circuit is 70% efficient, which isn’t too bad in my opinion. If it’d been all strings-of-three, then it’d’ve been 84% efficient.
This exceeds the 100mA you’re allowed to pull from USB Type A port without asking permission from the host. The IR illuminator is abusing the USB connection. But 380mA, plus a webcam, will be comfortably below 500mA, which the host is supposed to be capable of supplying. So, it’s technically non-compliant, but non-compliant USB gadgets abound. Nevertheless, it’s worth bearing in mind that it could cause problems…
Housing

I threw together a design for a basic plastic housing for the illuminator and 3D printed it in black PLA.
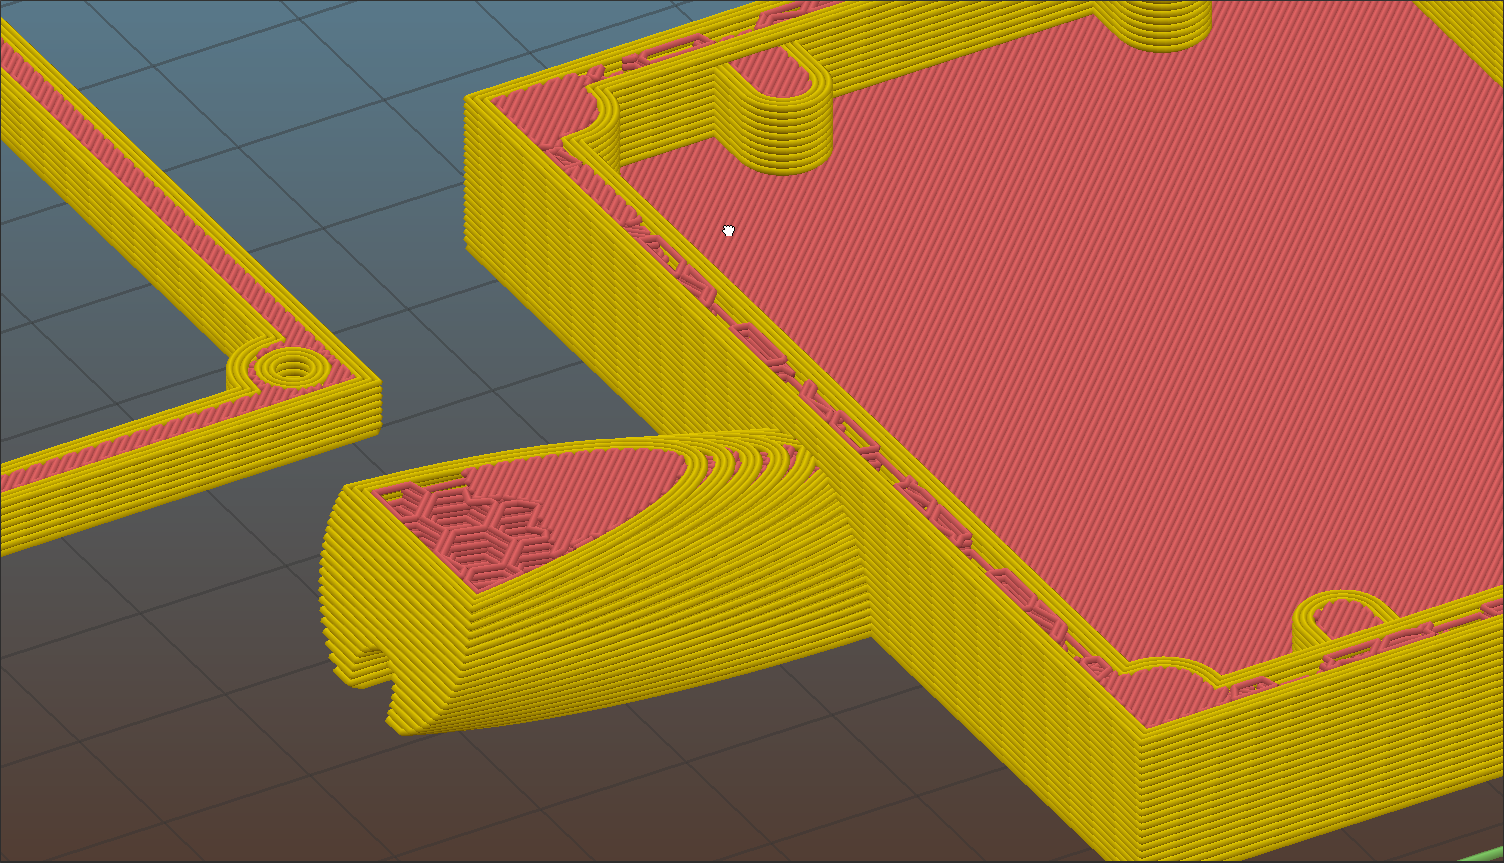
There’s a cylindrical protrusion that slots into a tubular plastic post taken from a defunct solar garden light. Because I wanted the cylinder to be at a slight angle, I had to slice a portion off the back of it so that it could lie flat on the print bed, otherwise it would have created an impossible-to-print overhang. There is still enough of a cylindrical shape left over to slot into the post.
I sprayed the electronics with transparent PCB lacquer to limit corrosion. The heat from the circuitry should help keep things dry, too. The enclosure isn’t watertight, so any water that gets inside should be able to drain away rather than building up.
Results
The illuminator works well in conjunction with the IR-sensitive webcam.
